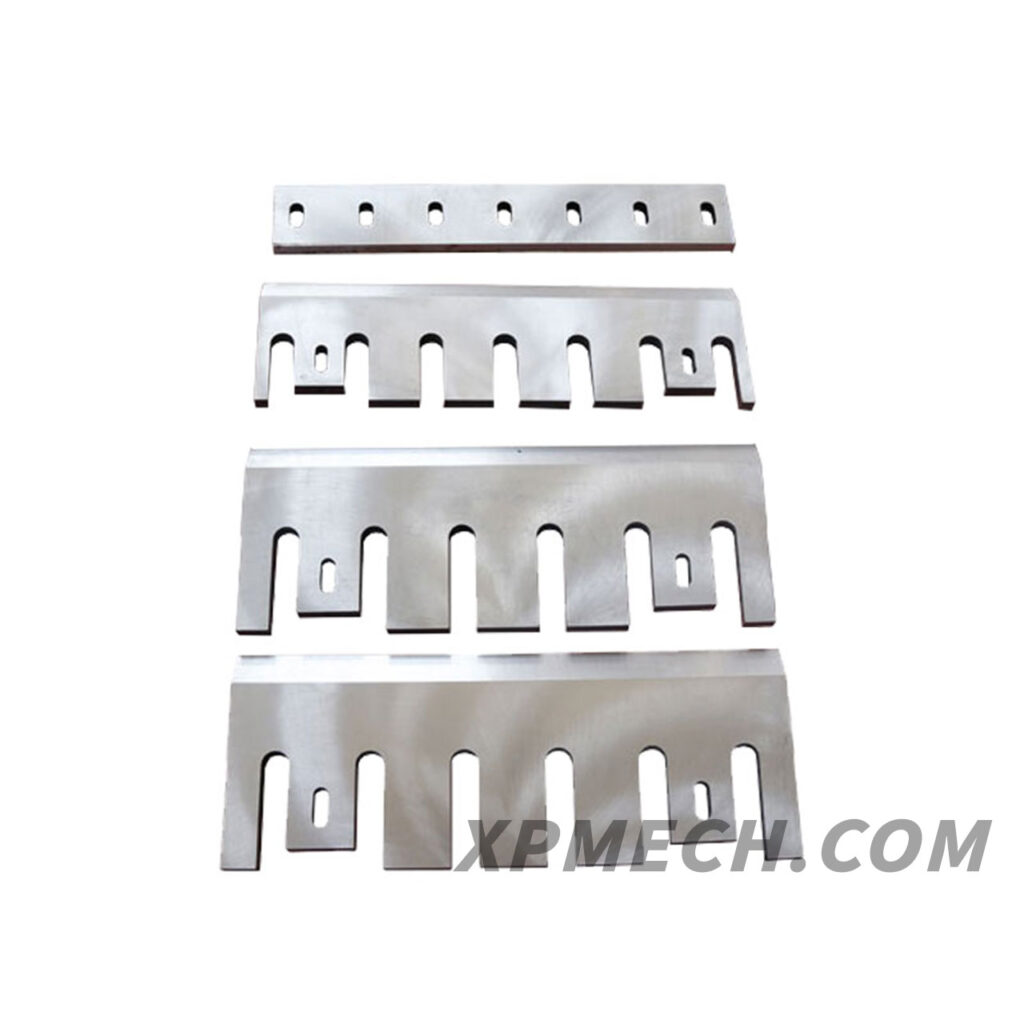
Chipper Blade Adjustment
- Blade Angle Adjustment
The blade angle of a chipper is a key factor affecting chipping performance. During use, it’s important to pay attention to the blade angle to ensure proper operation. The specific adjustment method is as follows:
- First, place the chipper on a stable work surface and remove the blades.
- Then, use a hand tool (such as ice tongs) to secure the blades in place.
- Next, use a tool such as an angle gauge to adjust the blade angle to the proper horizontal position.
- Finally, reinstall the blades and test the cutting performance.
- Blade Gap Adjustment

The gap between the blades also affects chipping performance. During use, it’s important to frequently check and adjust the gap between the blades. The specific adjustment method is as follows:
- Disassemble and open the chipper and remove all blades.
- Use the adjustment tool to check the gap between each blade and adjust it accordingly. Maintain proper balance between the blades during the adjustment process.
- Reinstall the blades and test the cutting performance.
- Blade Wear Inspection
Blade wear is also a factor that affects chipping performance. During use, blades should be regularly inspected for wear so they can be replaced promptly. The specific inspection methods are as follows:
- Disassemble and open the chipper and remove all blades.
- Check the blade surface for flatness. If worn or damaged, replace them immediately.
- Reinstall the blades and test the cutting performance.
In short, chipper blade adjustment is crucial and requires regular inspection and adjustment to ensure proper operation and chipping performance. The methods described above can help you adjust blades and inspect for wear. Please feel free to contact us if you have any questions.
